

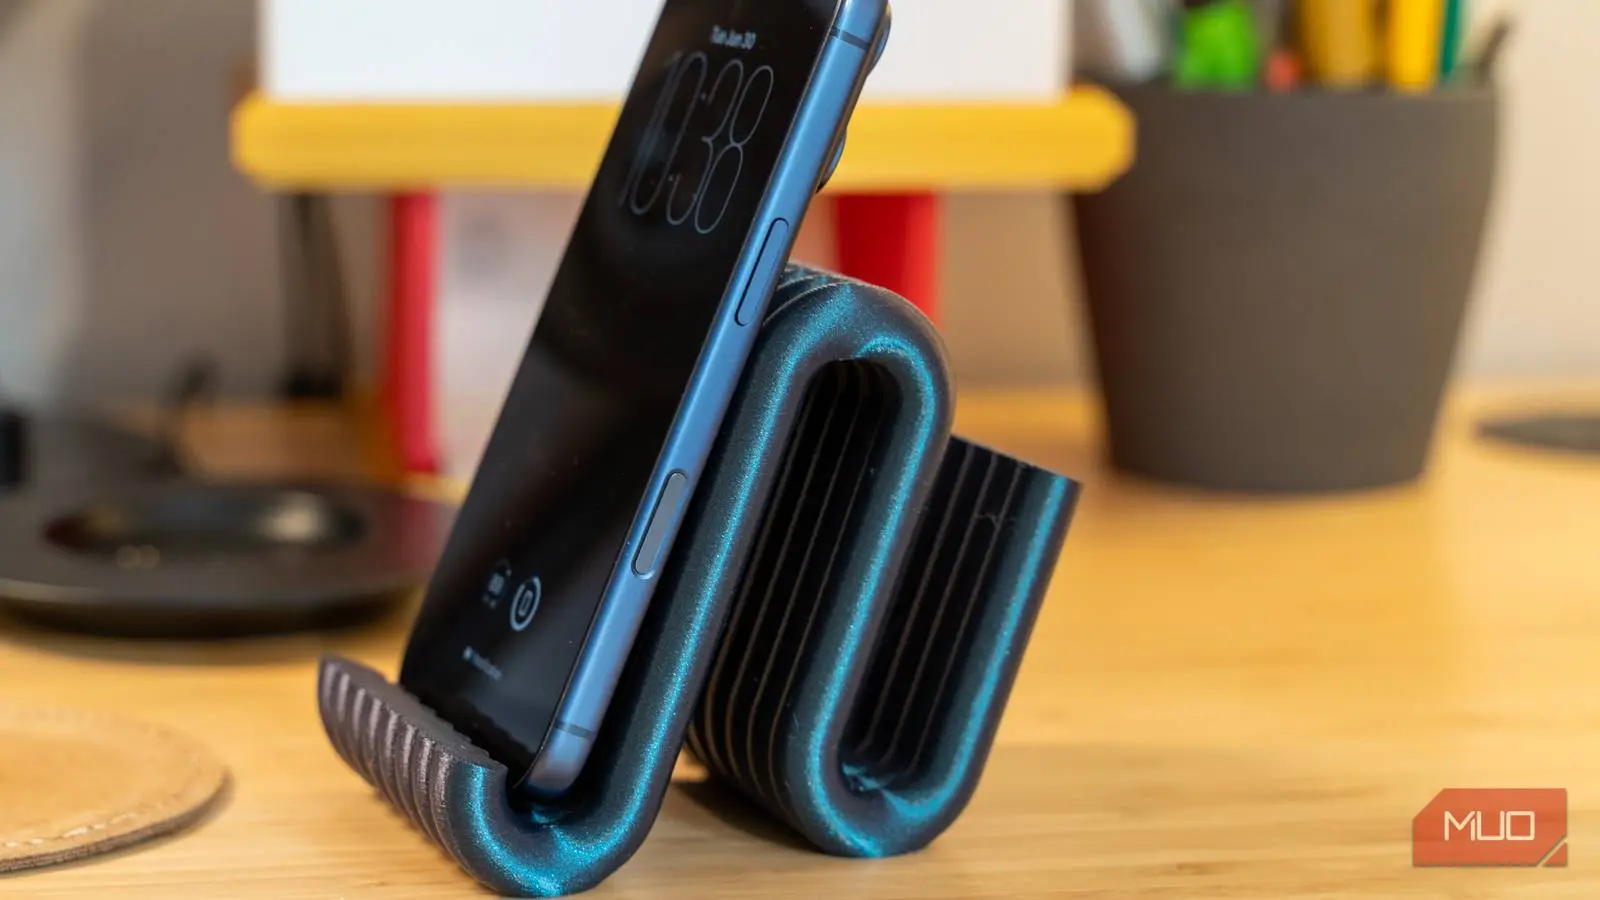
Phone stands are one of those accessories that seem too cheap to worry about until you realize how often you replace them: a new phone model, a cracked plastic base, a lost charging cable slot. Each time you end up back on a marketplace scrolling through $15 plastic blocks plus shipping. The machines and digital files needed to make your own stands have become so affordable and accessible that buying another stand no longer makes financial sense. Once you understand the economics of desktop 3D printing, the idea of paying retail for simple plastic items feels wasteful.
This is cheaper than you think
A printer will pay for itself after a few things
I used to avoid printing anything until I realized how cheap and widespread 3D printers have become. The cost of entry has dropped dramatically, making it possible to essentially have a small production line in your living room. A decent beginner-friendly FDM printer, which melts plastic filament layer by layer, typically costs between $150 and $500. Features like auto bed leveling, fast print speeds, and silent stepper motors that were exclusive to thousand-dollar machines just a few years ago are now standard on budget models.
If you do not want to buy a printer outright, many public libraries, makerspaces, and community centers offer rental machines for a small fee. While renting can cost more over the long run—usually a few dollars per hour of print time—it is an excellent way to test the waters without an upfront commitment. For occasional use, renting might be the better choice. But for anyone planning to print more than a few items per year, owning a printer quickly becomes cost-effective.
PLA filament, the go-to material for beginners, sells for roughly $20 to $30 per kilogram. That works out to two or three cents per gram. A typical phone stand weighs between 15 and 30 grams, meaning the raw material cost is about 30 to 50 cents. Compare that to store prices of $20 to $30 for the same basic plastic item, and you are avoiding markups that can exceed 4,000 percent. Electricity consumption for a small overnight print adds only a few cents to the total, so that cost is negligible.
Once you start making your own parts and accessories for 50 cents to $5 each, the printer pays for itself after just a few items you would otherwise have bought at full retail price. Over a year of producing phone stands, cable organizers, and other small plastic gadgets, the savings easily cover the initial printer cost. The math becomes even more favorable if you consider that many store-bought stands are made from cheap, brittle plastic that cracks within months, whereas you can choose a tougher filament for your home-printed version.
Finding and printing designs is pretty simple
Free sites and slicing software do the heavy lifting
Going from a blank desk to a custom phone stand sitting on it requires only a few straightforward steps. The first is exploring the vast libraries of free 3D model repositories. Websites like Thingiverse, Printables, and 3D model search engines such as Yeggi contain thousands of community-uploaded designs for virtually any device and purpose you can imagine.
You do not need any CAD (computer-aided design) skills because others have already created the files. A simple search will yield designs for dual-angle desk stands, car dashboard mounts, nightstand charging docks with cable routing channels, and even foldable stands that print as a single piece and collapse open straight off the print bed. Many of these designs are cleverly engineered to require no assembly or post-processing.
Once you download an STL file—the standard format for 3D models—you need to process it through a slicer program. Slicers like Cura, PrusaSlicer, or the newer Bambu Studio convert the digital model into machine instructions called G-code. The software slices the object into hundreds of thin horizontal layers, similar to a loaf of bread, and provides a full map of movements, extrusion amounts, temperatures, and fan speeds.
For a phone stand, you want to balance strength, speed, and material efficiency. The infill—the internal honeycomb pattern that supports the outer shell—should be set between 10 and 30 percent, using a pattern like gyroid or cubic to maintain structural integrity while saving filament and print time. Also set two or three outer wall layers (shells) to ensure the stand can withstand repeated insertion and removal of your phone. The slicer will give you an estimated print time; most small phone stands print in 45 minutes to an hour on an average consumer printer.
Between the massive library of free designs and the user-friendly slicing software, anyone with a 3D printer can skip retail entirely and produce their own accessories faster and cheaper than waiting for a shipped package.
The plastic you choose makes a big difference
You will probably ruin a few prints at first
The type of filament you choose dramatically affects the durability, heat resistance, and finish of your printed stand. PLA (polylactic acid) is the easiest material to print with. It is relatively strong under tension, has low odor when heated, and sticks well to most build plates. However, PLA is brittle—if you drop the stand, it may snap—and it begins to soften at about 130 degrees Fahrenheit. Leaving a PLA phone mount in a car on a hot summer day can warp or deform it permanently.
If you need a tougher material, PETG (polyethylene terephthalate glycol) is the next logical step. PETG offers better impact resistance and some flexibility without being as rigid and brittle as PLA. It also has a higher glass transition temperature, around 176 degrees Fahrenheit, making it suitable for car interiors or kitchen countertops. The trade-off is that PETG is more prone to stringing during printing and requires slightly hotter nozzle temperatures.
For extreme heat and mechanical strength, ABS (acrylonitrile butadiene styrene) sets the standard. It can withstand temperatures up to 200 degrees Fahrenheit and is the same plastic used in LEGO bricks and many automotive parts. However, ABS shrinks as it cools, causing corner warping and layer adhesion problems. Printing ABS usually requires an enclosed printer and a heated chamber to control the ambient temperature, plus a well-ventilated room because the fumes can be unpleasant.
These material challenges are where most beginners encounter their first failed prints. The most common failure is poor bed adhesion: the first layer does not stick, or the corners lift off the build plate during printing. A good first layer requires getting the Z-offset—the distance between the nozzle and the build plate—exactly right. Too high, and the plastic does not squish onto the bed. Too low, and the nozzle scrapes the plate or clogs.
Keeping the build plate clean is equally critical. Oils from your fingers, dust, or residual filament can prevent adhesion. Wash the plate with warm water and dish soap, then wipe it with isopropyl alcohol before each print. In your slicer settings, turn off the cooling fan for the first few layers so the plastic has time to settle and bond properly before airflow hits it.
Dialing in these parameters takes patience. You will probably waste one or two prints—maybe more—while you figure out your printer's idiosyncrasies. But the learning curve is short, and once you have a reliable profile, you can print stand after stand for pennies on the dollar.
Don't waste your money on a premium stand again
None of this works without some tolerance for trial and error. You will ruin a print occasionally due to bed adhesion, a filament jam, or an incorrect setting. PLA will not survive a hot car, no matter how carefully you calibrate. If you need something that withstands heat or impact, be prepared to move to PETG or ABS, each with its own calibration headaches. But for any item you might need to replace, redesign, or customize more than once, the economic argument is overwhelming. A retail phone stand costs $20 and lasts a year. A printed one costs 50 cents in filament and can be replaced immediately with an improved design. Over time, the printer pays for itself, and you gain the freedom to create exactly what you need, when you need it.
Source: MakeUseOf News